Imagine a secret ingredient that transforms ordinary dishes into extraordinary culinary experiences, imbuing them with a depth of flavor so profound it tastes almost magical. This isn't a rare spice or an obscure technique, but rather a simple pantry staple elevated to new heights: brown butter. Also known by its elegant French name, beurre noisette, this golden elixir introduces a world of toasted, nutty, and subtly caramel notes to everything it touches, from the most comforting baked goods to sophisticated savory dinners.
If the idea of unlocking such powerful flavor with just one ingredient sounds appealing, then you're in the right place. We're about to demystify the process of browning butter, turning what some might perceive as an intimidating step into an easy, rewarding kitchen skill. Prepare to learn how to brown butter: easy steps for nutty, rich flavor that will revolutionize your cooking.
What is Brown Butter (Beurre Noisette)?
At its core, brown butter is simply butter that has been gently heated until its milk solids caramelize and toast. Regular butter is an emulsion of fat, water, and milk solids. When you heat it, the water content evaporates, leaving behind pure butterfat and those crucial milk solids. As these milk solids continue to cook in the hot butterfat, they undergo a Maillard reaction – the same chemical process responsible for the browning and delicious flavor of seared meat, toasted bread, and roasted coffee. This reaction transforms them from pale white specks into tiny, golden-brown bits that release an incredibly complex and enticing aroma.
The resulting flavor profile is a delightful blend of toasted nuts (think hazelnuts or pecans), a hint of butterscotch, and a rich, deep warmth that surpasses the simple taste of melted butter. It's this nuanced complexity that makes brown butter such a coveted ingredient in professional kitchens and home cooking alike.
Why Brown Butter is a Game-Changer
So, why go through the extra step of browning butter? The answer lies in the unparalleled depth of flavor it brings. While regular butter is creamy and rich, brown butter adds an entirely new dimension:
- Unforgettable Aroma: The moment those milk solids begin to toast, your kitchen will fill with an irresistible, nutty fragrance that signals something truly delicious is being created.
- Complex Taste: Beyond just "nutty," brown butter boasts notes of caramel, toffee, and even a subtle earthiness that elevates both sweet and savory applications. It adds an unexpected layer of sophistication.
- Enhanced Texture: When re-solidified, brown butter has a slightly firmer, more luxurious texture, and when used melted, it provides a unique richness that plain melted butter cannot.
- Versatility: Its flavor complements a vast array of ingredients and cuisines, proving its worth in countless recipes.
Once you experience the difference brown butter makes, you'll find yourself reaching for this technique again and again.
How to Brown Butter: A Step-by-Step Guide
Browning butter is surprisingly simple, requiring minimal ingredients and equipment. The key is attention and observation. Here’s a detailed breakdown of how to brown butter perfectly every time.
Ingredients & Equipment You'll Need:
- Butter: This is your only ingredient! You can use salted or unsalted, depending on your preference and the recipe. Unsalted allows for more control over the final saltiness, but salted works just as well. Feel free to scale up or down based on your needs.
- Skillet or Saucepan: Opt for a pan with a light-colored bottom. This is crucial because it allows you to clearly see the color changes of the milk solids. A dark-bottomed pan makes it nearly impossible to judge doneness, risking burnt butter.
- Spatula or Wooden Spoon: For constant stirring, ensuring even cooking.
- Heat-Safe Bowl: To immediately transfer the finished brown butter, stopping the cooking process.
The Browning Process:
- Melt the Butter: Place your butter in the light-colored skillet over medium heat. Don't be tempted to crank up the heat; a steady medium temperature ensures even cooking.
- Cook Until Foamy: As the butter melts, it will begin to bubble and foam. Swirl the pan occasionally and stir with your spatula to distribute the heat evenly. The water content is evaporating at this stage.
- Watch for Golden Flecks: The foam will gradually subside, and you'll start to see tiny, light golden-brown specks forming at the bottom of the pan. These are your milk solids beginning to toast. Continue stirring constantly.
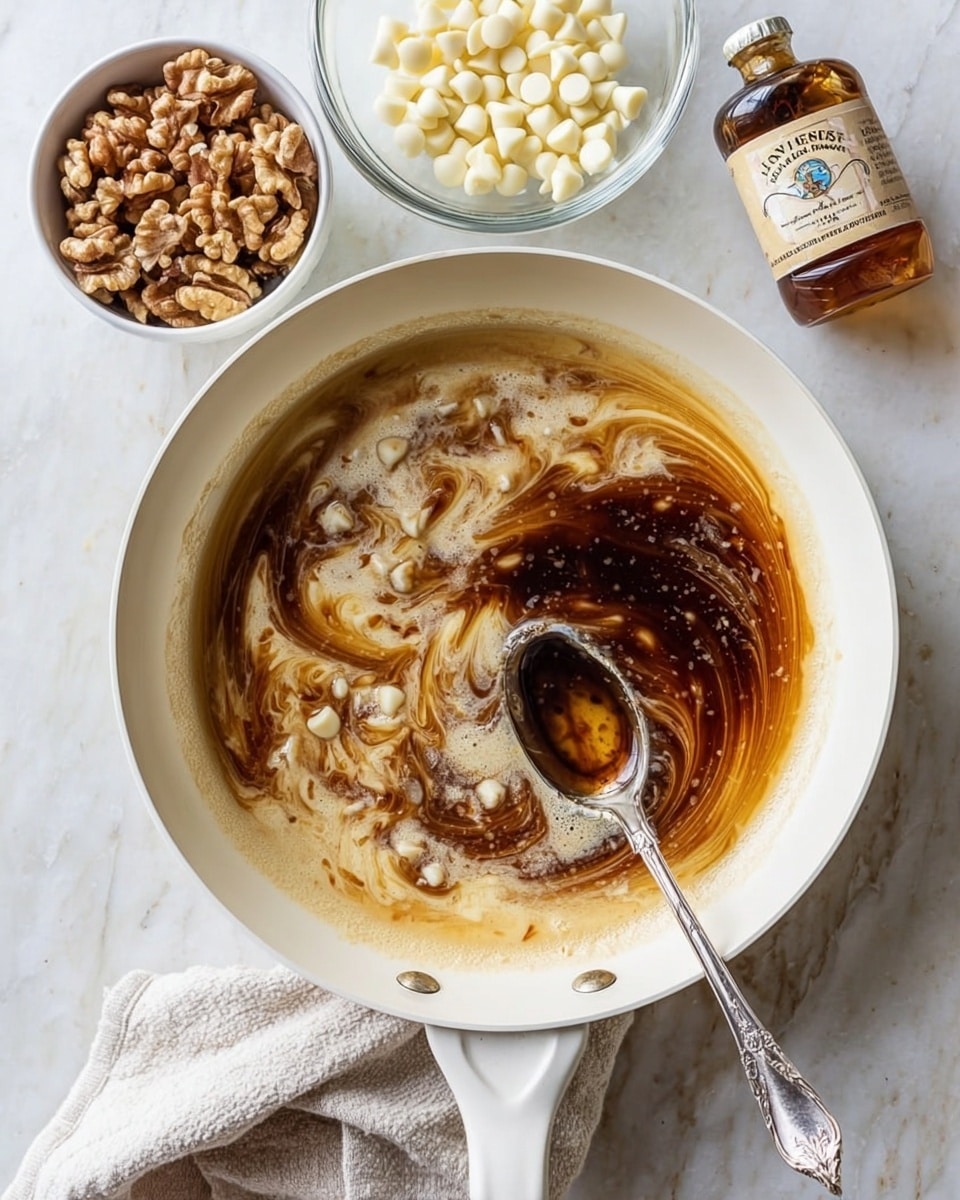
- Achieve Golden Amber: As the milk solids deepen in color, the melted butter itself will transform from a pale yellow to a rich, golden amber. Your kitchen should now be filled with a wonderfully nutty, fragrant aroma, akin to toasted hazelnuts or caramel. This is your cue!
- Remove Immediately: The moment the butter reaches that beautiful golden amber color and emits its nutty fragrance, take it off the heat immediately. Pour the entire contents (liquid butter and toasted milk solids) into a separate heat-safe bowl. This critical step prevents residual heat from overcooking and burning the butter.
That's it! You've successfully made brown butter. It takes a quick ten minutes or less, but those few minutes demand your full attention.
Expert Tips for Perfect Brown Butter Every Time
While the process is straightforward, a few key tips can make all the difference between perfectly golden, nutty butter and a bitter, burnt disaster. For even more detailed guidance on avoiding pitfalls, be sure to check out Perfect Brown Butter: Essential Tips to Avoid Burning.
- Mind the Heat: Stick to medium heat. High heat will cause the water to evaporate too quickly and the milk solids to burn before they can properly toast, resulting in uneven cooking and a bitter taste.
- Use a Light-Colored Pan: We can't stress this enough. Visual cues are everything. A stainless steel pan with a light interior is ideal. If you only have dark non-stick, you might need to pour a small amount into a white bowl periodically to check the color.
- Stir, Stir, Stir: Consistent stirring and swirling ensures that the milk solids cook evenly and don't stick to the bottom of the pan and burn in one spot.
- Don't Multitask: Browning butter is not the time to walk away and check your phone or chop vegetables. It progresses very quickly in its final stages. A few seconds can mean the difference between perfect and burnt.
- Transfer Promptly: The butter continues to cook even after you remove it from the stove due to the pan's residual heat. Pouring it into a cool, heat-safe bowl stops this process, preserving that exquisite flavor.
- What if it Burns? Don't panic! Even experienced cooks can burn butter. Burnt butter will smell acrid, look very dark brown or black, and taste bitter. If this happens, simply discard it, clean your pan, and start fresh. It's a quick, inexpensive ingredient to replace.
- Listen and Smell: Beyond sight, use your other senses. You'll hear the sizzling quiet down as the water evaporates, and the nutty aroma is a strong indicator of doneness.
Unleashing the Magic: Culinary Applications
Now that you know how to brown butter, what can you do with it? The possibilities are truly endless!
Sweet Applications:
- Baked Goods: Substitute brown butter for regular melted butter in cookies (especially chocolate chip!), brownies, blondies, cakes, muffins, and even pie crusts for an incredible depth of flavor.
- Frostings & Glazes: Incorporate it into buttercream frostings, cream cheese glazes, or simple powdered sugar drizzles for a rich, nutty twist.
- Pancakes & Waffles: Add it to your batter or drizzle it over the top with syrup for a luxurious breakfast.
- Fruit Desserts: Toss it with sautéed apples, pears, or bananas, or use it in crumbles and crisps.
Savory Applications:
- Pasta Sauces: A simple brown butter and sage sauce is heavenly over ravioli or gnocchi. It also adds richness to alfredo or carbonara.
- Vegetables: Drizzle over roasted asparagus, green beans, Brussels sprouts, or mashed potatoes. It turns humble vegetables into something special.
- Seafood: Brown butter with a squeeze of lemon juice is a classic accompaniment for delicate fish like sole, scallops, or shrimp.
- Poultry & Meats: Baste a roasted chicken, add to pan sauces for pork chops, or use it to sear steaks for a richer crust.
- Soups: A swirl of brown butter can add a comforting richness to pumpkin, squash, or mushroom soups.
Storing Brown Butter
You can use brown butter immediately, or store it for later. Once cooled, it will re-solidify, becoming a firm, golden block speckled with the toasted milk solids. Store it in an airtight container in the refrigerator for up to two weeks. It can also be frozen for several months. To use it from its solid state, simply melt it gently or allow it to come to room temperature.
The journey to mastering brown butter is a short one, but the rewards are vast. With just a stick of butter and a little focused attention, you can unlock a magical flavor that will elevate your cooking and baking from good to truly unforgettable. So go ahead, grab your skillet, and prepare to be amazed by the transformative power of brown butter!
